Minting NFTs
In this tutorial you'll learn how to easily create your own NFTs without doing any software development by using a readily-available smart contract and a decentralized storage solution like IPFS.
Overview
This article will guide you in setting up an NFT smart contract, and show you how to build, test and deploy your NFT contract on NEAR. Once the contract is deployed, you'll learn how to mint non-fungible tokens from media files stored on IPFS and view them in your Wallet.
Prerequisites
To complete this tutorial successfully, you'll need:
Wallet
To store your non-fungible tokens you'll need a NEAR Wallet. If you don't have one yet, you can create one easily by following these instructions.
Tip: for this tutorial we'll use a
testnetwallet account. Thetestnetnetwork is free and there's no need to deposit funds.
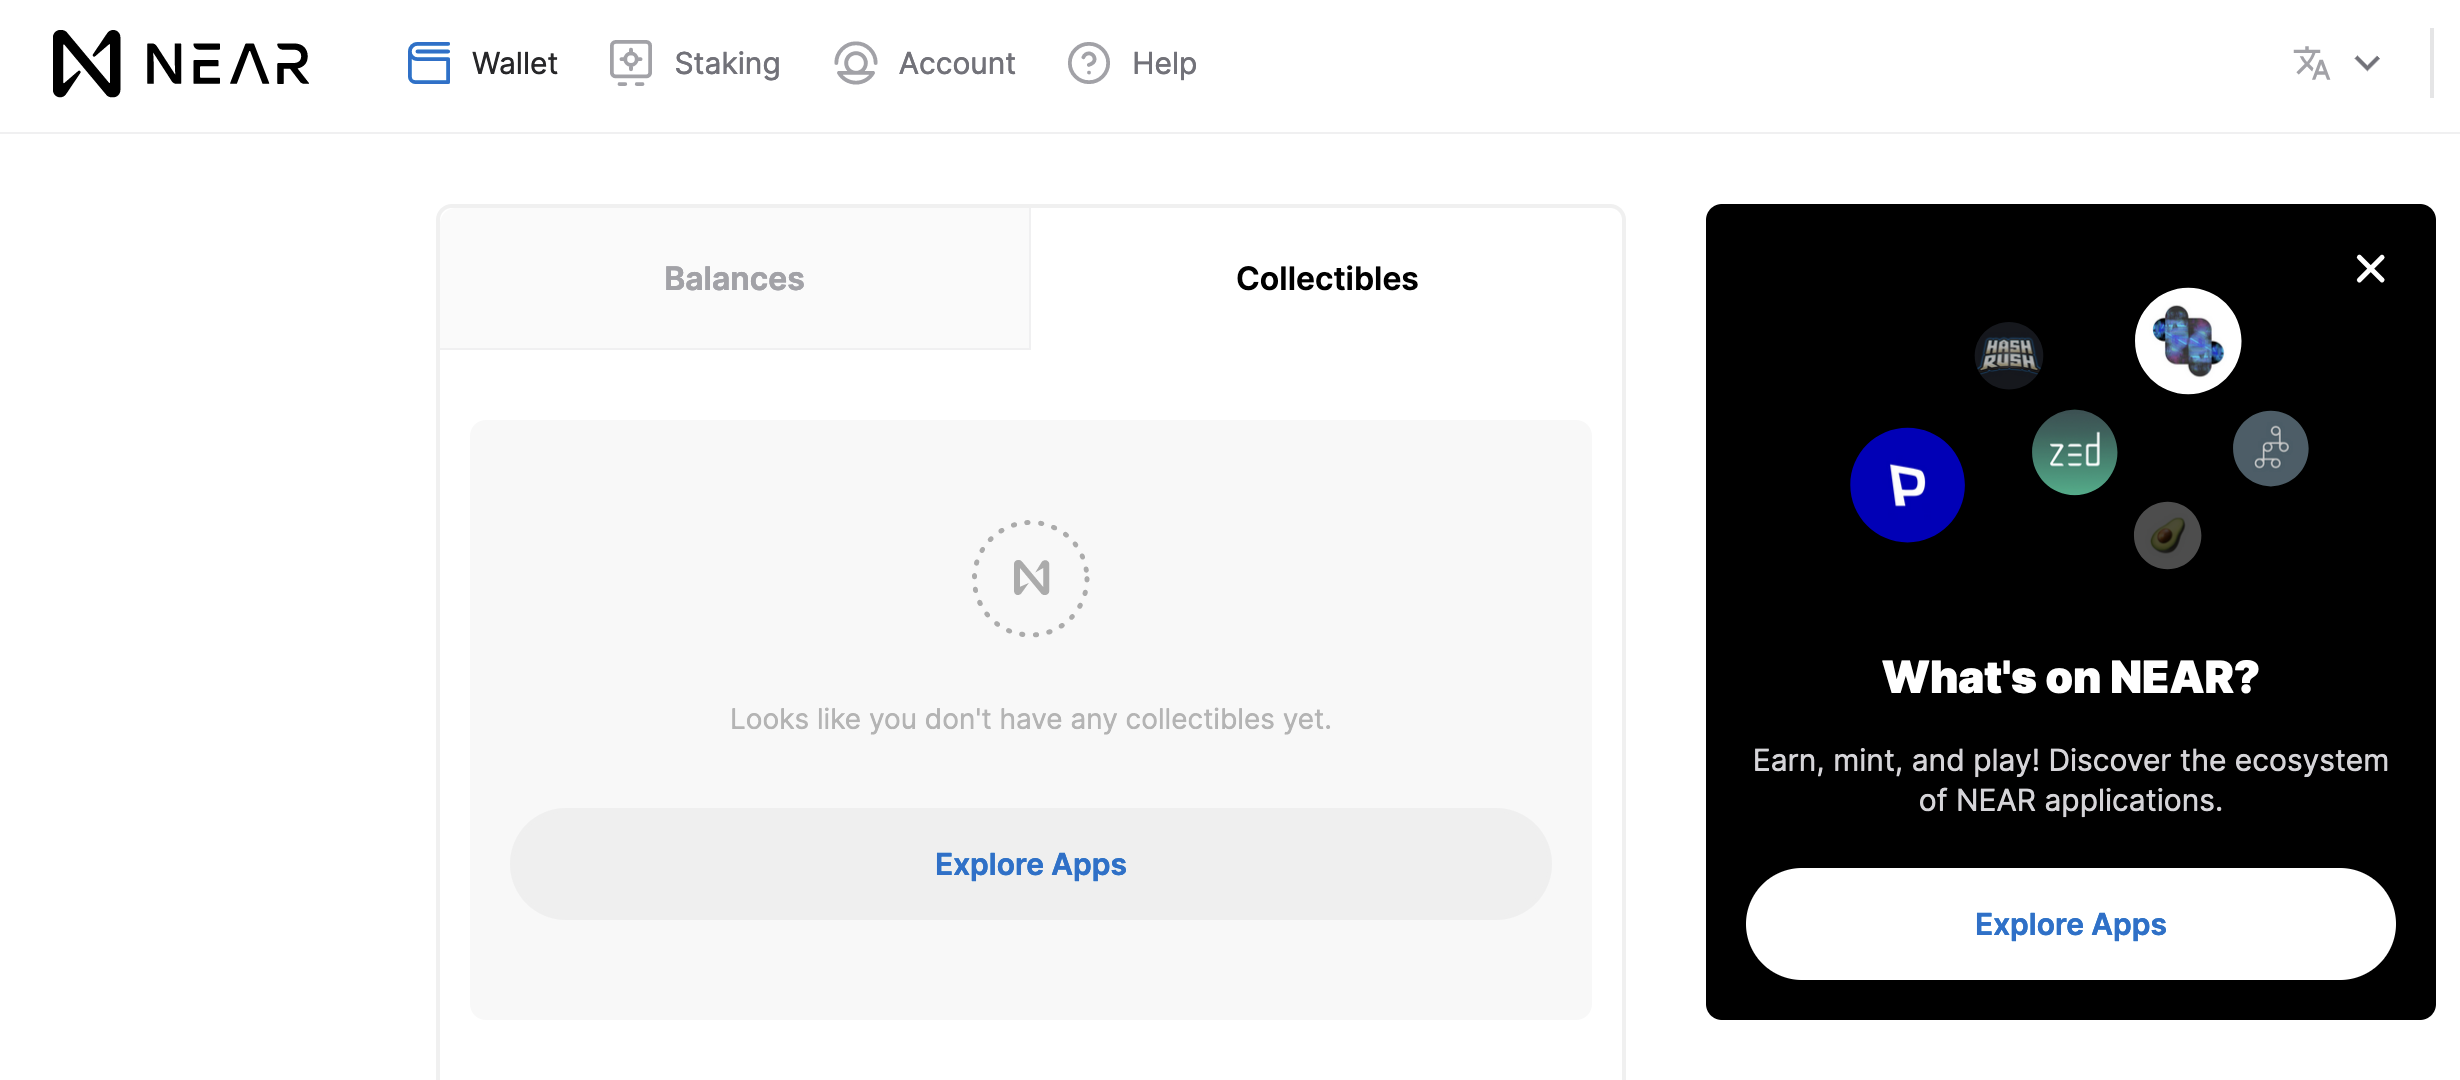
Once you have your Wallet account, you can click on the Collectibles tab where all your NFTs will be listed:

IPFS
The InterPlanetary File System (IPFS) is a protocol and peer-to-peer network for storing and sharing data in a distributed file system. IPFS uses content-addressing to uniquely identify each file in a global namespace connecting all computing devices.
Uploading the image
To upload the NFT image, you should use a decentralized storage provider such as IPFS.
This example uses IPFS, but you could use a different solution like Filecoin, Arweave, or a regular centralized Web2 hosting.
Once you have uploaded your file to IPFS, you'll get a unique CID for your content, and a URL like:
https://bafyreiabag3ztnhe5pg7js4bj6sxuvkz3sdf76cjvcuqjoidvnfjz7vwrq.ipfs.dweb.link/
Non-fungible Token contract
This repository includes an example implementation of a non-fungible token contract which uses near-contract-standards and simulation tests.
Clone the NFT repository
In your terminal run the following command to clone the NFT repo:
git clone https://github.com/near-examples/NFT
Explore the smart contract
The source code for this contract can be found in nft/src/lib.rs. This contract contains logic which follows the NEP-171 standard (NEAR Enhancement Proposal) and the implementation of this standard which can be found here.
At first, the code can be a bit overwhelming, but if we only consider the aspects involved with minting, we can break it down into 2 main categories - the contract struct and the minting process.
Contract Struct
The contract keeps track of two pieces of information - tokens and metadata. For the purpose of this tutorial we will only deal with the tokens field.
#[near(contract_state)]
#[derive(PanicOnDefault)]
pub struct Contract {
    tokens: NonFungibleToken,
    metadata: LazyOption<NFTContractMetadata>,
}
The tokens are of type NonFungibleToken which come from the core standards. There are several fields that make up the struct but for the purpose of this tutorial, we'll only be concerned with the owner_by_id field. This keeps track of the owner for any given token.
pub struct NonFungibleToken {
    // owner of contract
    pub owner_id: AccountId,

    // keeps track of the owner for any given token ID.
    pub owner_by_id: TreeMap<TokenId, AccountId>,

    ...
}
Now that we've explored behind the scenes and where the data is being kept, let's move to the minting functionality.
Minting
In order for a token to be minted you will need to call the nft_mint function. There are three arguments that are passed to this function:
token_idreceiver_idtoken_metadata
This function executes self.tokens.mint which calls the mint function in the core standards creating a record of the token with the owner being receiver_id.
#[payable]
pub fn nft_mint(
    &mut self,
    token_id: TokenId,
    receiver_id: ValidAccountId,
    token_metadata: TokenMetadata,
) -> Token {
    self.tokens.mint(token_id, receiver_id, Some(token_metadata))
}
This creates that record by inserting the token into the owner_by_id data structure that we mentioned in the previous section.
self.owner_by_id.insert(&token_id, &owner_id);
Building the contract
To build your contract run the following command in your terminal which builds your contract using Rust's cargo.
cargo near build
This will generate WASM binaries into your res/ directory. This WASM file is the smart contract we'll be deploying onto the NEAR blockchain.
If you run into errors make sure you have Rust installed and are in the root directory of the NFT example.
Testing the contract
Written in the smart contract there are pre-written tests that you can run. Run the following command in your terminal to perform these simple tests to verify that your contract code is working.
cargo test
Note: the more complex simulation tests aren't performed with this command but you can find them in
tests/sim.
Using the NFT contract
Now that you have successfully built and tested the NFT smart contract, you're ready to deploy it and start using it mint your NFTs.
Deploying the contract
This smart contract will be deployed to your NEAR account. Because NEAR allows the ability to upgrade contracts on the same account, initialization functions must be cleared.
Note: If you'd like to run this example on a NEAR account that has had prior contracts deployed, please use the
near-clicommandnear deleteand then recreate it in Wallet. To create (or recreate) an account, please follow the directions in Test Wallet or (NEAR Wallet if we're usingmainnet).
Log in to your newly created account with near-cli by running the following command in your terminal.
- Short
- Full
near login --networkId testnet
near account import-account using-web-wallet network-config testnet
To make this tutorial easier to copy/paste, we're going to set an environment variable for your account ID. In the command below, replace YOUR_ACCOUNT_NAME with the account name you just logged in with including the .testnet (or .near for mainnet):
export ID=YOUR_ACCOUNT_NAME
Test that the environment variable is set correctly by running:
echo $ID
Verify that the correct account ID is printed in the terminal. If everything looks correct you can now deploy your contract. In the root of your NFT project run the following command to deploy your smart contract.
near deploy $ID res/non_fungible_token.wasm
Example response:
Starting deployment. Account id: ex-1.testnet, node: https://rpc.testnet.near.org, file: res/non_fungible_token.wasm
Transaction Id E1AoeTjvuNbDDdNS9SqKfoWiZT95keFrRUmsB65fVZ52
To see the transaction in the transaction explorer, please open this url in your browser
https://testnet.nearblocks.io/txns/E1AoeTjvuNbDDdNS9SqKfoWiZT95keFrRUmsB65fVZ52
Done deploying to ex-1.testnet
Minting your NFTs
A smart contract can define an initialization method that can be used to set the contract's initial state. In our case, we need to initialize the NFT contract before usage. For now, we'll initialize it with the default metadata.
Note: each account has a data area called
storage, which is persistent between function calls and transactions. For example, when you initialize a contract, the initial state is saved in the persistent storage.
- Short
- Full
near call $ID new_default_meta '{"owner_id": "'$ID'"}' --accountId $ID
near contract call-function as-transaction $ID new_default_meta json-args '{"owner_id": "'$ID'"}' prepaid-gas '100.0 Tgas' attached-deposit '0 NEAR' sign-as $ID network-config testnet sign-with-keychain send
Tip: you can find more info about the NFT metadata at nomicon.io.
You can then view the metadata by running the following view call:
- Short
- Full
near view $ID nft_metadata
near contract call-function as-read-only $ID nft_metadata json-args '{}' network-config testnet now
Example response:
{
  "spec": "nft-1.0.0",
  "name": "Example NEAR non-fungible token",
  "symbol": "EXAMPLE",
  "icon": "data:image/svg+xml,%3Csvg xmlns='http://www.w3.org/2000/svg' viewBox='0 0 288 288'%3E%3Cg id='l' data-name='l'%3E%3Cpath d='M187.58,79.81l-30.1,44.69a3.2,3.2,0,0,0,4.75,4.2L191.86,103a1.2,1.2,0,0,1,2,.91v80.46a1.2,1.2,0,0,1-2.12.77L102.18,77.93A15.35,15.35,0,0,0,90.47,72.5H87.34A15.34,15.34,0,0,0,72,87.84V201.16A15.34,15.34,0,0,0,87.34,216.5h0a15.35,15.35,0,0,0,13.08-7.31l30.1-44.69a3.2,3.2,0,0,0-4.75-4.2L96.14,186a1.2,1.2,0,0,1-2-.91V104.61a1.2,1.2,0,0,1,2.12-.77l89.55,107.23a15.35,15.35,0,0,0,11.71,5.43h3.13A15.34,15.34,0,0,0,216,201.16V87.84A15.34,15.34,0,0,0,200.66,72.5h0A15.35,15.35,0,0,0,187.58,79.81Z'/%3E%3C/g%3E%3C/svg%3E",
  "base_uri": null,
  "reference": null,
  "reference_hash": null
}
Now let's mint our first token! The following command will mint one copy of your NFT. Replace the media url with the one you uploaded to IPFS earlier:
- Short
- Full
near call $ID nft_mint '{"token_id": "0", "receiver_id": "'$ID'", "token_metadata": { "title": "Some Art", "description": "My NFT media", "media": "https://bafkreiabag3ztnhe5pg7js4bj6sxuvkz3sdf76cjvcuqjoidvnfjz7vwrq.ipfs.dweb.link/", "copies": 1}}' --accountId $ID --deposit 0.1
near contract call-function as-transaction $ID nft_mint json-args '{"token_id": "0", "receiver_id": "'$ID'", "token_metadata": { "title": "Some Art", "description": "My NFT media", "media": "https://bafkreiabag3ztnhe5pg7js4bj6sxuvkz3sdf76cjvcuqjoidvnfjz7vwrq.ipfs.dweb.link/", "copies": 1}}' prepaid-gas '100.0 Tgas' attached-deposit '0.1 NEAR' sign-as $ID network-config testnet sign-with-keychain send
Example response:
{
  "token_id": "0",
  "owner_id": "dev-xxxxxx-xxxxxxx",
  "metadata": {
    "title": "Some Art",
    "description": "My NFT media",
    "media": "https://bafkreiabag3ztnhe5pg7js4bj6sxuvkz3sdf76cjvcuqjoidvnfjz7vwrq.ipfs.dweb.link/",
    "media_hash": null,
    "copies": 1,
    "issued_at": null,
    "expires_at": null,
    "starts_at": null,
    "updated_at": null,
    "extra": null,
    "reference": null,
    "reference_hash": null
  },
  "approved_account_ids": {}
}
To view tokens owned by an account you can call the NFT contract with the following near-cli command:
- Short
- Full
near view $ID nft_tokens_for_owner '{"account_id": "'$ID'"}'
near contract call-function as-read-only $ID nft_tokens_for_owner json-args '{"account_id": "'$ID'"}' network-config testnet now
Example response:
[
  {
    "token_id": "0",
    "owner_id": "dev-xxxxxx-xxxxxxx",
    "metadata": {
      "title": "Some Art",
      "description": "My NFT media",
      "media": "https://bafkreiabag3ztnhe5pg7js4bj6sxuvkz3sdf76cjvcuqjoidvnfjz7vwrq.ipfs.dweb.link/",
      "media_hash": null,
      "copies": 1,
      "issued_at": null,
      "expires_at": null,
      "starts_at": null,
      "updated_at": null,
      "extra": null,
      "reference": null,
      "reference_hash": null
    },
    "approved_account_ids": {}
  }
]
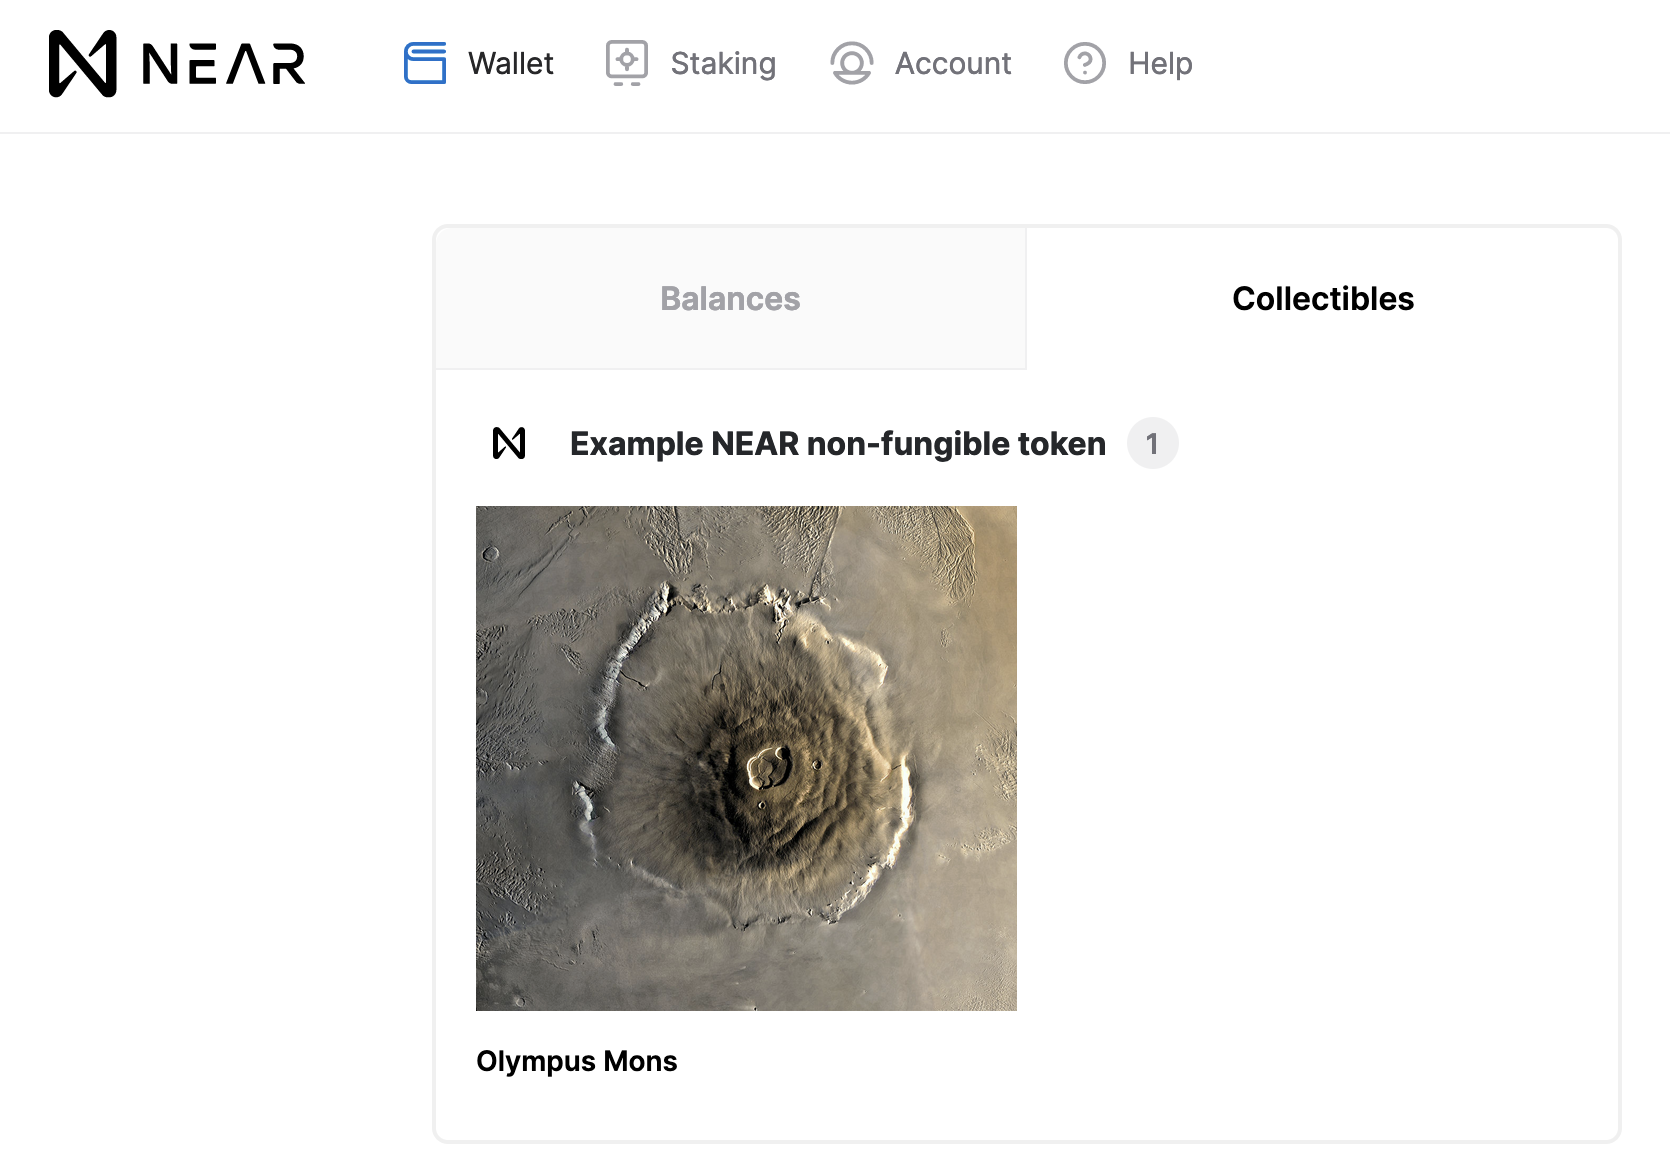
Tip: after you mint your first non-fungible token, you can view it in your Wallet:
Congratulations! You just minted your first NFT token on the NEAR blockchain! 🎉
Final remarks
This basic example illustrates all the required steps to deploy an NFT smart contract, store media files on IPFS, and start minting your own non-fungible tokens.
Now that you're familiar with the process, you can check out our NFT Example and learn more about the smart contract code and how you can transfer minted tokens to other accounts. Finally, if you are new to Rust and want to dive into smart contract development, our Quick-start guide is a great place to start.
Happy minting! 🪙
At the time of this writing, this example works with the following versions:
- cargo:
cargo 1.83.0 (5ffbef321 2024-10-29) - rustc:
rustc 1.83.0 (90b35a623 2024-11-26) - near-cli-rs:
0.16.1


